Python Tutorial: How to Scrape Images From Websites
So, you’ve found yourself in need of some images, but looking for them individually doesn’t seem all that exciting? Especially if you are doing it for a machine learning project. Fret not; data scraping comes in to save the day as it allows you to collect massive amounts of data in a fraction of the time it would take you to do it manually.
There are quite a few tutorials out there, but in this one, we’ll show you how to get the images you need from a static website in a simple way. We’ll use Python, some additional Py libraries, and proxies – so stay tuned.
Know your websites
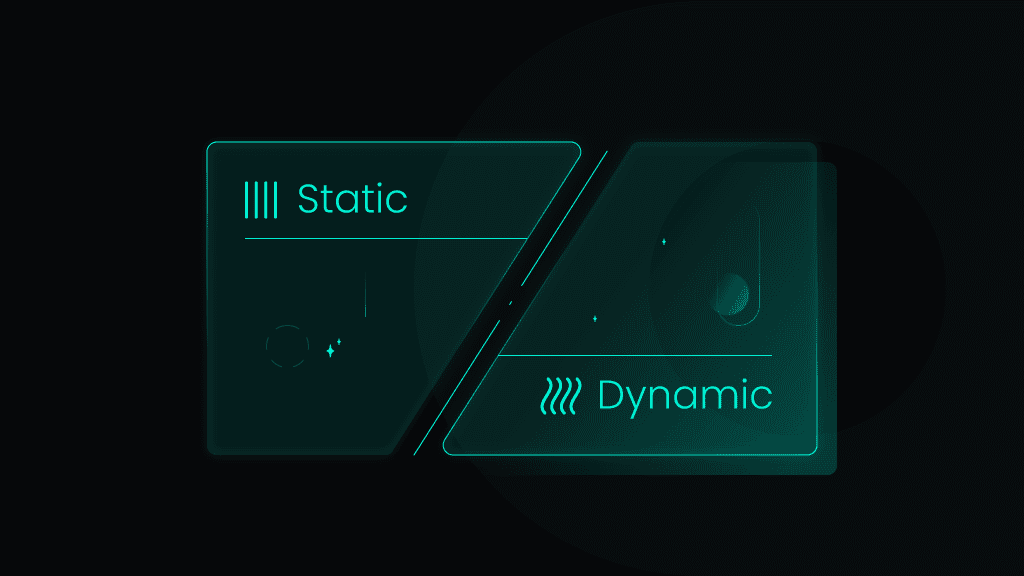
First things first – it’s very important to know what kind of website you want to scrape images from. And by what kind, we mean dynamic or static. As it’s quite an extensive topic, we’ll only go over the basics in this tutorial. But if you’re genuinely interested in learning more about it, we highly recommend checking out our other tutorial on scraping dynamic content.
Dynamic website
A dynamic website has elements that change each time a different user (or sometimes, even the same user) visits a website. It stores certain information (if it’s provided to the website) about you, like your age, gender, location, payment information, etc. Sometimes, even the weather and season in your location.
It may sound a little unnerving at first, but all of this is done to ensure that users have the best-tailored experience. The more you visit the website, the more personalized and convenient your experience will be.
Understandably, building a dynamic website includes advanced programming and databases. Those sites don't have HTML files for each page; their servers create them "on-the-fly." In response to a user request, the server gathers data from one or more databases and creates a unique HTML file for the customer. The HTML file is sent back to the user's browser when the page is ready.
Static website
As the name suggests, these websites are static – meaning they don’t change, unlike dynamic websites. These types of websites are kind of “take it or leave it.” The displayed content isn’t affected by the viewer in any way whatsoever. So unless the content is changed manually, everyone will see the exact same thing. A static website is usually written entirely in HTML.
Web scraping: dynamic website vs. static website
You’re probably wondering what this means in terms of web scraping images? Well, as fun as dynamic websites are, web scraping them is no easy feat. Since the content is changed to suit each user according to their preferences and other previously discussed criteria, you can imagine how difficult it can be to scrape all data (or images) from such websites.
The process is rather tedious and requires not just knowledge of web scraping but experience as well. It also calls for more Py libraries and additional tools to tackle this quest. This is precisely why, for this tutorial, we opted to web scrape images from a static website.

Determining whether a website is static or dynamic
If, upon opening a website, it greets you like this: “Hey there, so-and-so, it’s been a while. Remember that item you viewed before? It’s on sale now!”. Well, it’s very enthusiastically calling itself a dynamic website.
But all jokes aside, several ways will help you to know if you’re facing static or dynamic websites:
- Check if the web server software supports dynamic content. Static websites are often hosted on Apache servers, and dynamic websites are typically managed on IIS servers.
- Examine web content. Static websites are often packed with non-changing material such as text and photos. Dynamic websites may have a mix of static and dynamic material, such as submission forms, user logins for customized content, online survey, and dynamic components that alter based on search terms entered into a search box.
- Look at the web address. The static website's address remains the same, while the dynamic website's web address is likely to change with each page load.
Besides, remember that dynamic websites are the ones where information changes quite frequently, like weather or news sites and stock exchange pages. Such changing news can be loaded by an application using resources in a database, while the information on static websites has to be updated manually.
Getting started: what you’ll need
Just like in a recipe, it’s best to first look over what we’ll need before diving hands deep into work. Otherwise, it can get confusing later on if you have to figure out whether everything is in place or not. So, for this tutorial, you’ll need:
Python – we used version 3.8.9. If you don’t have Python, make sure to download and install it on your system.
BeautifulSoup 4 – BS4 is a Py package that parses HTML and XML formats. In this case, BS4 will help turn a website’s content into an HTML format and then extract all of the ‘img’ objects within the HTML.
Requests – this Py library is needed to send requests to a website and save it in the response object.
Proxies – whether it’s your first or zillionth time attempting to scrape the web, proxies are an important part of it. Proxies help shield you in the eyes of the internet and allow you to continue your work without a single IP ban, block, or CAPTCHA.
Let’s get those images – scraping tutorial
Now that we’ve covered all the basics let’s get this show on the road. Compared to other tutorials on the subject, this is simpler, but it still requires coding. No worries, we’re going to proceed with a step-by-step explanation of each code line to ensure nothing slips through the cracks.
Step 1 – Setting up proxies
We suggest using our residential proxies – armed with Python and Beautifulsoup 4; they’re more than enough to handle this task. Your starting point:
- Head over to the Smartproxy dashboard.
- Register and confirm your registration.
- On the left side panel, find residential proxies under "Residential."
- Purchase a plan that suits your needs best.
- You can authenticate using user:pass credentials or by whitelisting your IP.
Here’s how you can set up proxies if you picked user:pass authentication option:
import requestsurl = 'https://ip.smartproxy.com'username = 'username'password = 'password'
Now that you’ve set up your proxies, you can choose whichever endpoint you want from more than 195 locations, including countries, US states, and cities.
proxy = f'http://{username}:{password}@gate.smartproxy.com:7000'response = requests.get(url, proxies={'http': proxy, 'https': proxy})print(response.text)
Oh, and if you run into any hiccups, check our documentation, or if you’d prefer some human connection, hit up our customer support – they’re around 24/7.
Step 2 – Adding our libraries
Before we jump into the code, we should add the BS4 and requests libraries.
from bs4 import BeautifulSoupimport requests
Step 3 – Selecting our target website
Let’s go ahead and select a target website to scrape images from. For the purposes of this tutorial, we'll use the URL of our help docs page: https://help.smartproxy.com/docs/how-do-i-use-proxies.
A friendly reminder: always make sure to note the terms of service of any website you’d like to scrape. Just because a website can be accessed freely doesn’t mean that the information provided there – in this case, images – can be taken just like that as well.
Now that we’ve got that out of our way let’s add the following code line – it will include our target in our code.
html_page = "https://help.smartproxy.com/docs/how-do-i-use-proxies"
Step 4 – Sending a request
Now, let’s add another code line that will request information from the website with a GET command.
response = requests.get(html_page, proxies={'http': proxy, 'https': proxy})
Step 5 – Scraping images
With this next code line, we’ll turn response.text into a BeautifulSoup object by using BS4.
soup = BeautifulSoup(response.text, 'html.parser')
It’s time to identify all img objects within the HTML by using the for loop.
for img in soup.findAll('img'):
Moving forward, let’s identify whether or not an image has an src in the img object. Src simply means the source of the image.
if img.get('src') != None:
Now, this code line will be used to get the image links in our response after running the code.
print(img.get('src'))
At the end of this step, your code should look like this:
from bs4 import BeautifulSoupimport requestshtml_page = "https://help.smartproxy.com/docs/how-do-i-use-proxies"response = requests.get(html_page, proxies={'http': proxy, 'https': proxy})soup = BeautifulSoup(response.text, 'html.parser')for img in soup.findAll('img'):if img.get('src') != None:print(img.get('src'))
Step 6 – Getting URLs of the images
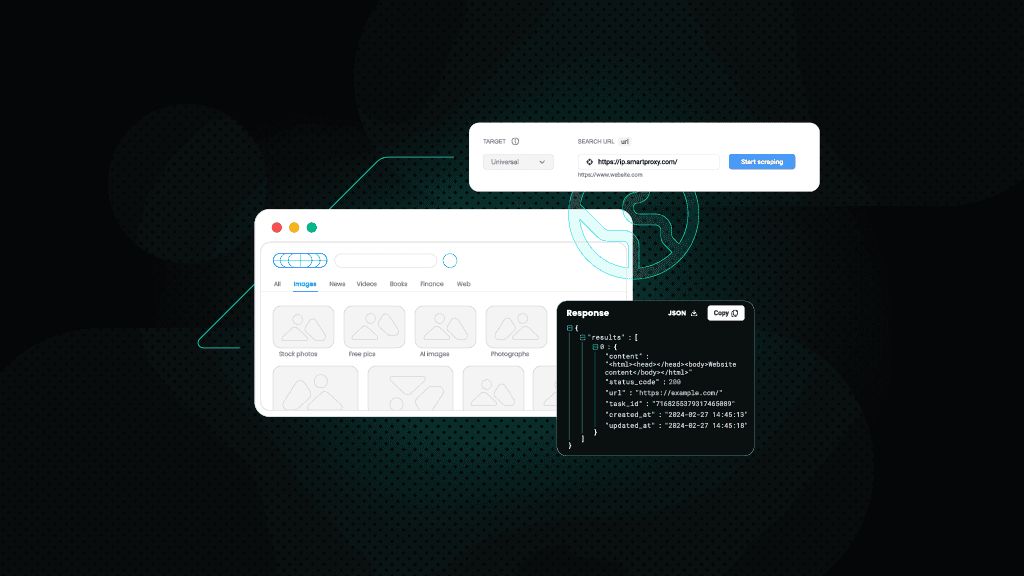
If you need to scrape only the images’ URLs, all that’s left to do is hit Enter on your keyboard and get those sweet results. The response should look something like this:
https://files.readme.io/c78c9d4-small-smartproxy-residential-rotating-proxies.pnghttps://files.readme.io/c78c9d4-small-smartproxy-residential-rotating-proxies.pnghttps://files.readme.io/d5fb07a-2ndshot.jpghttps://files.readme.io/d5fb07a-2ndshot.jpghttps://files.readme.io/119ef97-3rdstep.jpghttps://files.readme.io/119ef97-3rdstep.jpghttps://files.readme.io/4021757-4thstep.pnghttps://files.readme.io/4021757-4thstep.pnghttps://files.readme.io/6018b04-smartproxy-nl-rotating-residential-proxy-example.pnghttps://files.readme.io/6018b04-smartproxy-nl-rotating-residential-proxy-example.png
But if you came here to gather the actual images, there’re a few more steps to follow.
Step 7 – Downloading scraped images
First, save the received URLs to a new variable.
img_url = img.get('src')
Then, get the image’s name. It’ll be the text after the last slash in the URL (the first one is "c78c9d4-small-smartproxy-residential-rotating-proxies.png").
name = img_url.split('/')[-1]
Now, form a new request for getting an image. We’ll do this for each image URL we got from the initial request.
img_response = requests.get(img_url)
Next, open a file and label it with the name variable we used before. Yup, that "c78c9d4-small-smartproxy-residential-rotating-proxies.png."
file = open(name, "wb")
And write the image response content to the file.
file.write(img_response.content)
Finally, let’s close the file. The code will now move on to the next image URL and stop when all image URLs will be scraped.
file.close()
Congrats, you’re done! The final code should look like this:
from bs4 import BeautifulSoupimport requestshtml_page = "https://help.smartproxy.com/docs/how-do-i-use-proxies"response = requests.get(html_page, proxies={'http': proxy, 'https': proxy})soup = BeautifulSoup(response.text, 'html.parser')for img in soup.findAll('img'):if img.get('src') != None:print(img.get('src'))img_url = img.get('src')name = img_url.split('/')[-1]img_response = requests.get(img_url)file = open(name, "wb")file.write(img_response.content)file.close()
The images will be automatically stored in the same directory as our code after downloading.
On a final note
Web scraping is a process that you can use to optimize your work and improve your overall performance. Besides, it’s not just something used in the tech world – more and more people are using web scraping to achieve their goals (such as doing market or even academic research, job and apartment hunting, or SEO).
However, let’s not forget that not everything can be scraped, including images. Each website has its own terms of service as well as conditions. Some photos may have strict copyright rules we must adhere to. But if we respect one another online and throw in some fancy netiquette in the mix, we’ll all enjoy a smoother and more fruitful experience on the world wide web.
About the author

Ella Moore
Ella’s here to help you untangle the anonymous world of residential proxies to make your virtual life make sense. She believes there’s nothing better than taking some time to share knowledge in this crazy fast-paced world.
All information on Smartproxy Blog is provided on an as is basis and for informational purposes only. We make no representation and disclaim all liability with respect to your use of any information contained on Smartproxy Blog or any third-party websites that may belinked therein.


